


Rising tomatoes is my favourite factor to do in summer time. There’s nothing like having fun with a tomato proper off the vine. Tomatoes should not tremendous fussy, however they do want loads of daylight and vitamins. In the event you stay someplace with out full solar entry, strive rising your tomatoes the wrong way up!
Epic Gardening founder, Kevin Espiritu, just lately met somebody at a backyard present who requested what he would do if he had a north-facing patio with virtually no solar, they usually needed to develop tomatoes. His response was to develop them excessive up and the wrong way up.
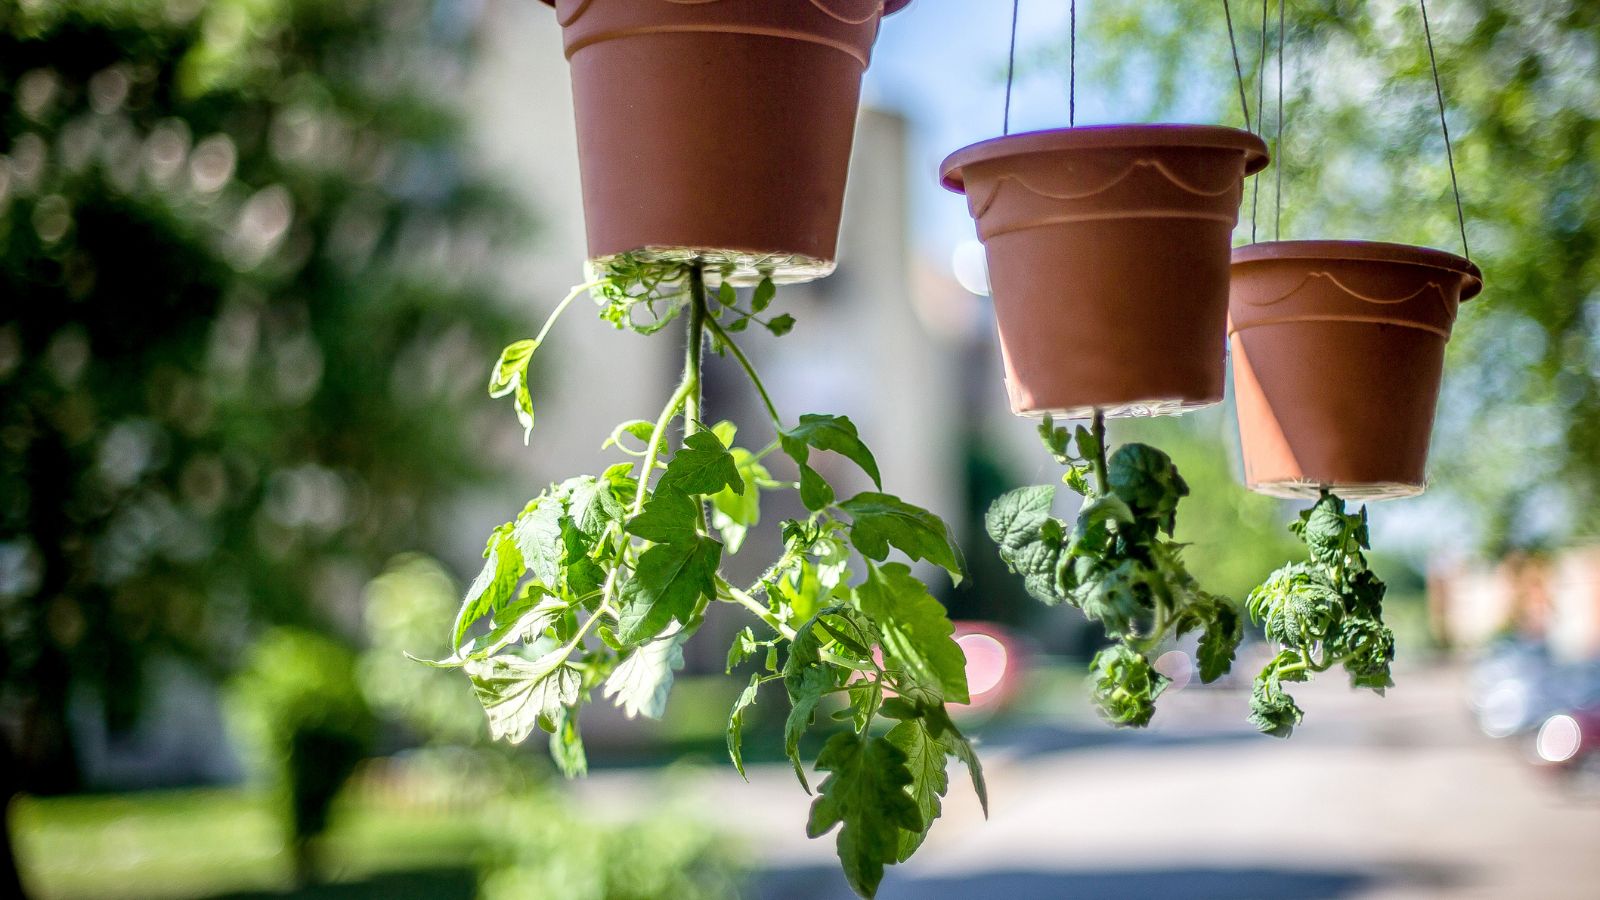
Utilizing the Italian ‘Roma’ selection, Kevin efficiently grew his vines the wrong way up and managed to supply a hearty crop. This distinctive tomato-growing trick saved area and supplied a singular aesthetic. Except for a couple of provides and a hook to hold your pot on, there’s not a ton that you must do this at house your self! Right here’s how!

Step 1: Select the Proper Selection

Search for a bush fashion or determinate tomato. Kevin selected Italian Romas, however there’s lots extra determinate or bush varieties on the market. He additionally discovered {that a} cherry would work in this type of planting, however heavier tomatoes are finest, as they assist the vines keep downward because the plant tries to develop upward.
You probably have sufficient time earlier than tomato season ramps up, you should purchase seeds and begin them forward of planting. Roma varieties are nice, as they’ve a mid-sized fruit that pulls vines down, they usually’re not so heavy they’ll break the vine.
Supremo Bush romas are a terrific second choice, subsequent to Kevin’s alternative. ‘Cream Sausage’ is a yellow, Roma-like selection. There are such a lot of good decisions on the market, although. Possibly you might have one in thoughts already.
In the event you’re beginning indoors, collect your seed beginning provides, and get your seeds of their cells at the very least 4 weeks forward of your final frost. If it’s effectively after your final frost, search for a determinate or bush selection transplant.
Step 2: Collect Your Provides
After you’ve positioned your most well-liked tomato, it’s time to get your gear out and get the undertaking began. You’ll want a regular 5-gallon bucket, a gap noticed to drill a gap within the backside of the bucket, a drill bit for drainage holes, and a few burlap and a strap to hold your bucket excessive up. Make sure you use a bucket that’s massive sufficient to accommodate rising tomatoes in a container.
Use a three-inch or wider gap noticed (not more than 4 inches), and a ¼ inch drill bit to your holes. With regards to burlap, that’s what Kevin used. Nevertheless, you need to use cardboard or every other porous materials. On your strap, you need one thing that may maintain 30 to 50 kilos to make sure it doesn’t break when your plant is roofed in tomatoes.
Step 3: Drill Your Holes
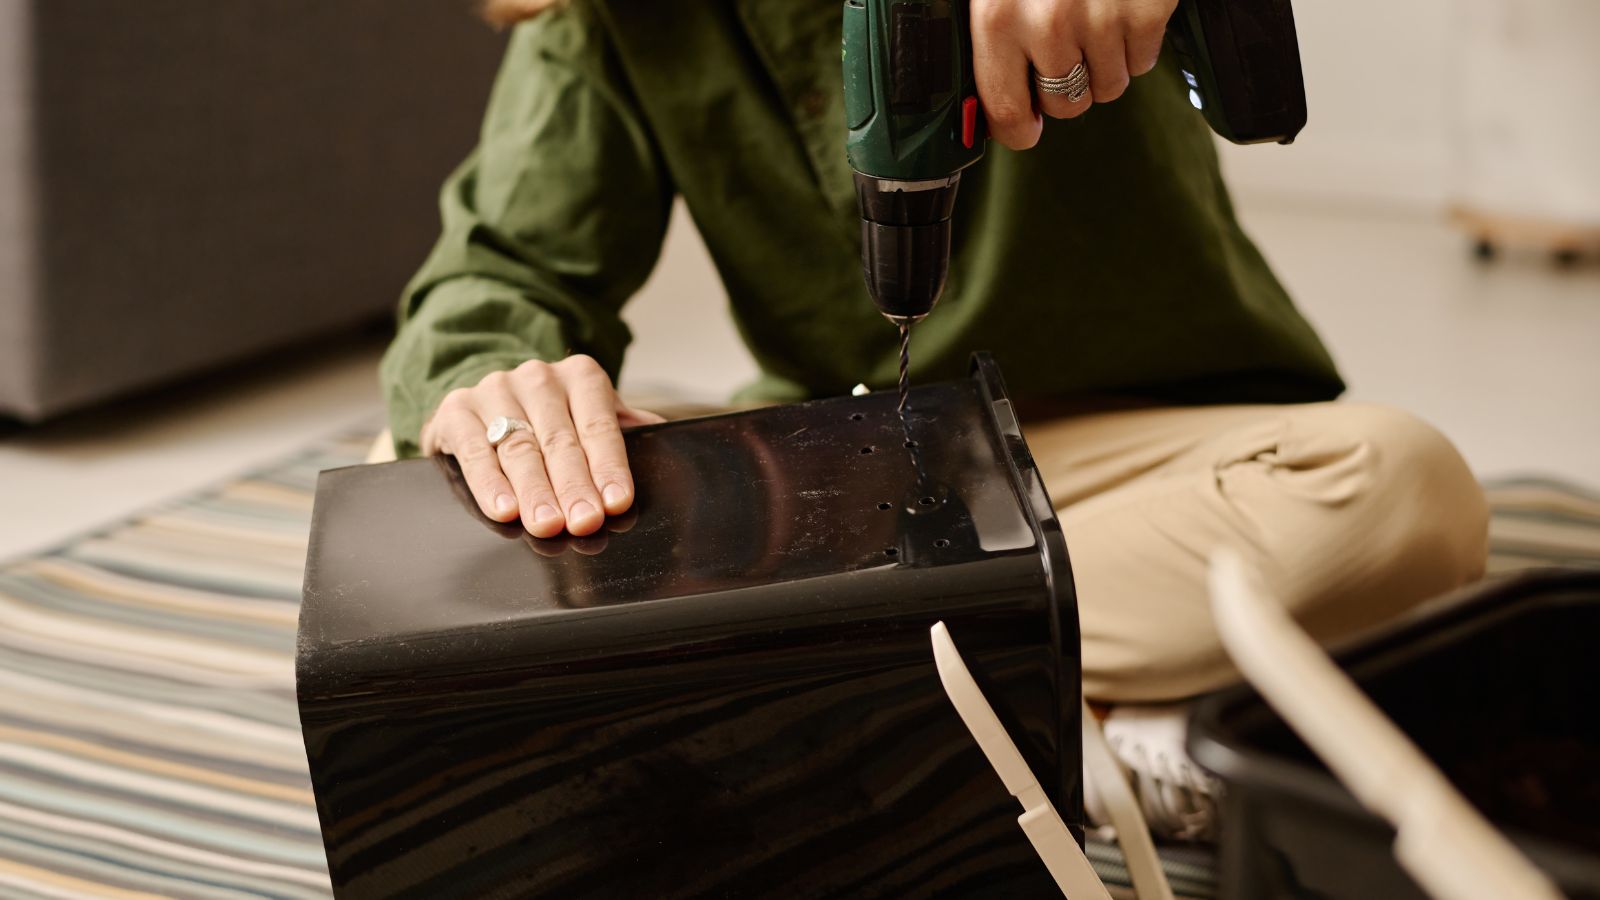
Because you’ll use the bucket’s deal with to hold the tomato, you want a 3 to four-inch gap the place your plant can come out and cling. Connect the outlet noticed to your drill, and discover the middle of the 5-gallon bucket. Most of those have a demarcated circle within the middle of the underside that guides you. Then drill!
Then you definitely want drainage holes to permit water to move out of the bucket, reasonably than sitting inside and rotting your tomato’s roots. Utilizing your drill bit, drill six to seven evenly spaced holes across the massive gap you made together with your gap noticed.
Step 4: Insert Your Burlap

You want some sort of liner inside your bucket to make sure the soil doesn’t fall out of the holes you simply drilled in your bucket whenever you cling it the wrong way up. That is what your porous materials is for. Whether or not you select burlap, landscaping fabric, or cardboard, place it on prime of the underside of the bucket to measurement it up.
Make a top level view of the circumference of the bucket, and lower the fabric so it’s sufficiently small to suit into the within base. Reduce an X within the center the place the tomato will come out of the bucket to hold. In the event you’re utilizing fabric, merely fold it in half and lower a straight line, then fold it in half the opposite manner and repeat. Straightforward peasy!
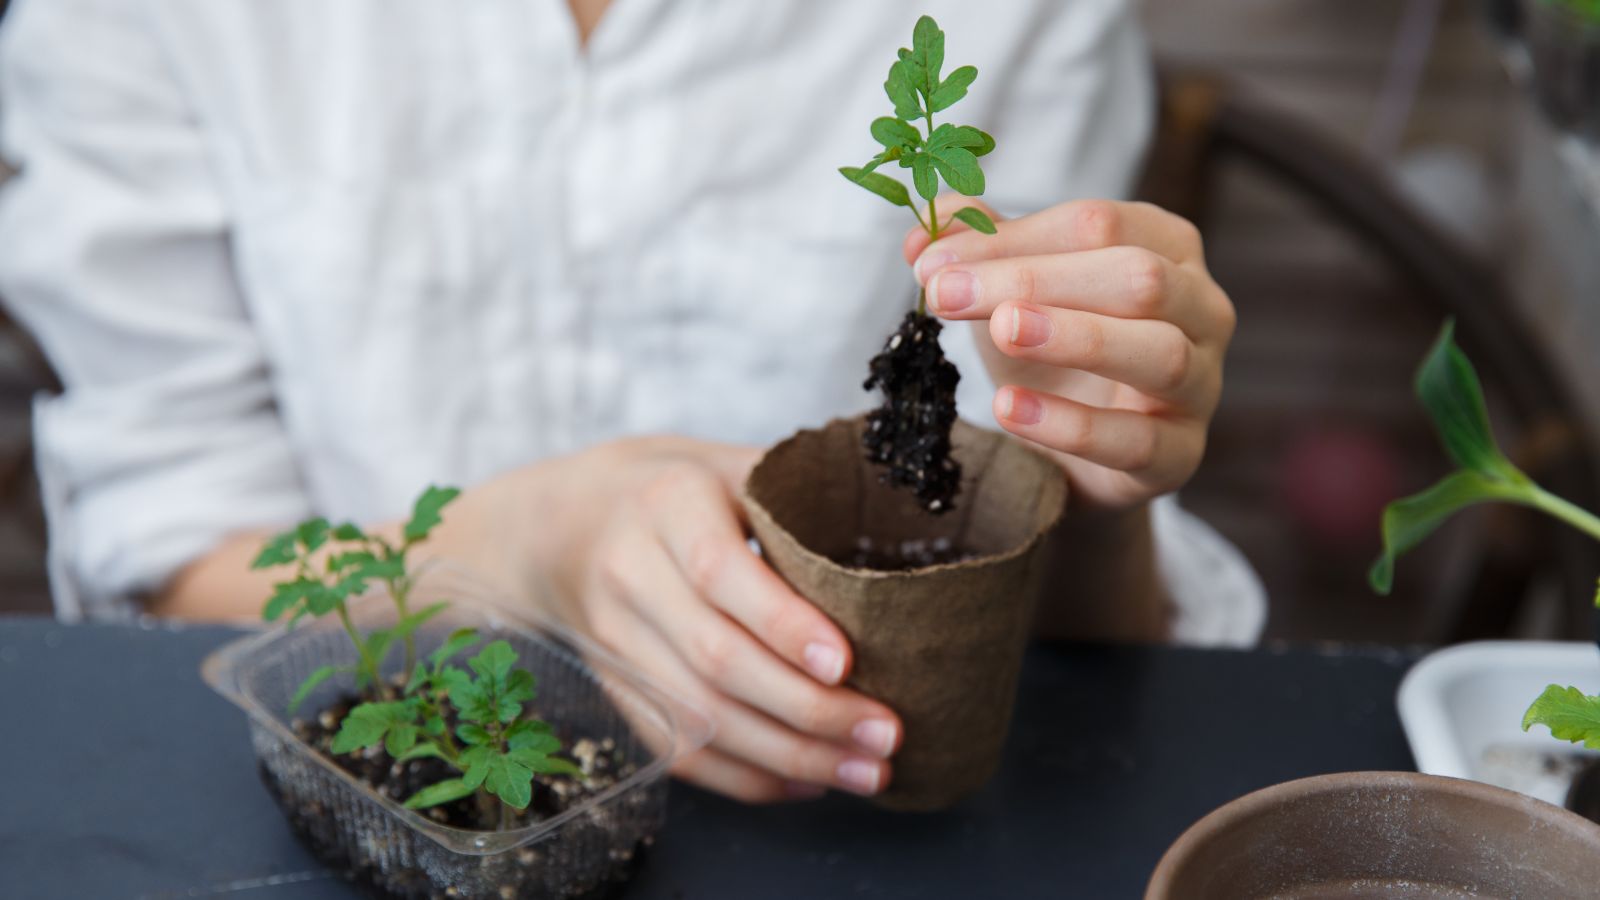
Step 5: Put together Your Tomato

As a result of you might have a reasonably small gap to suit that tomato into, use this rising trick to maximise area. Tomatoes develop adventitious roots alongside their stems simply, so it’s finest to start out by pruning the underside tomato leaves. Take away the underside three to 4 units of leaves, leaving ample foliage above. A minimum of a couple of units of wholesome leaves will do.
Then, examine the roots and decide whether or not or not they’re barely certain. If they’re, use your arms to softly loosen them and put together them. In the event that they aren’t, you’re good to get planting.
Step 6: Add the Tomato
Throw your line in first, then thread the tomato via the X you made. That is the one meticulous a part of the method. Watch out to not trigger an excessive amount of harm to the tomato as you compress its leaves to weave via the outlet. Nevertheless, tomatoes are fairly powerful and bounce again from slightly roughness rapidly.
Step 7: High the Bucket Off

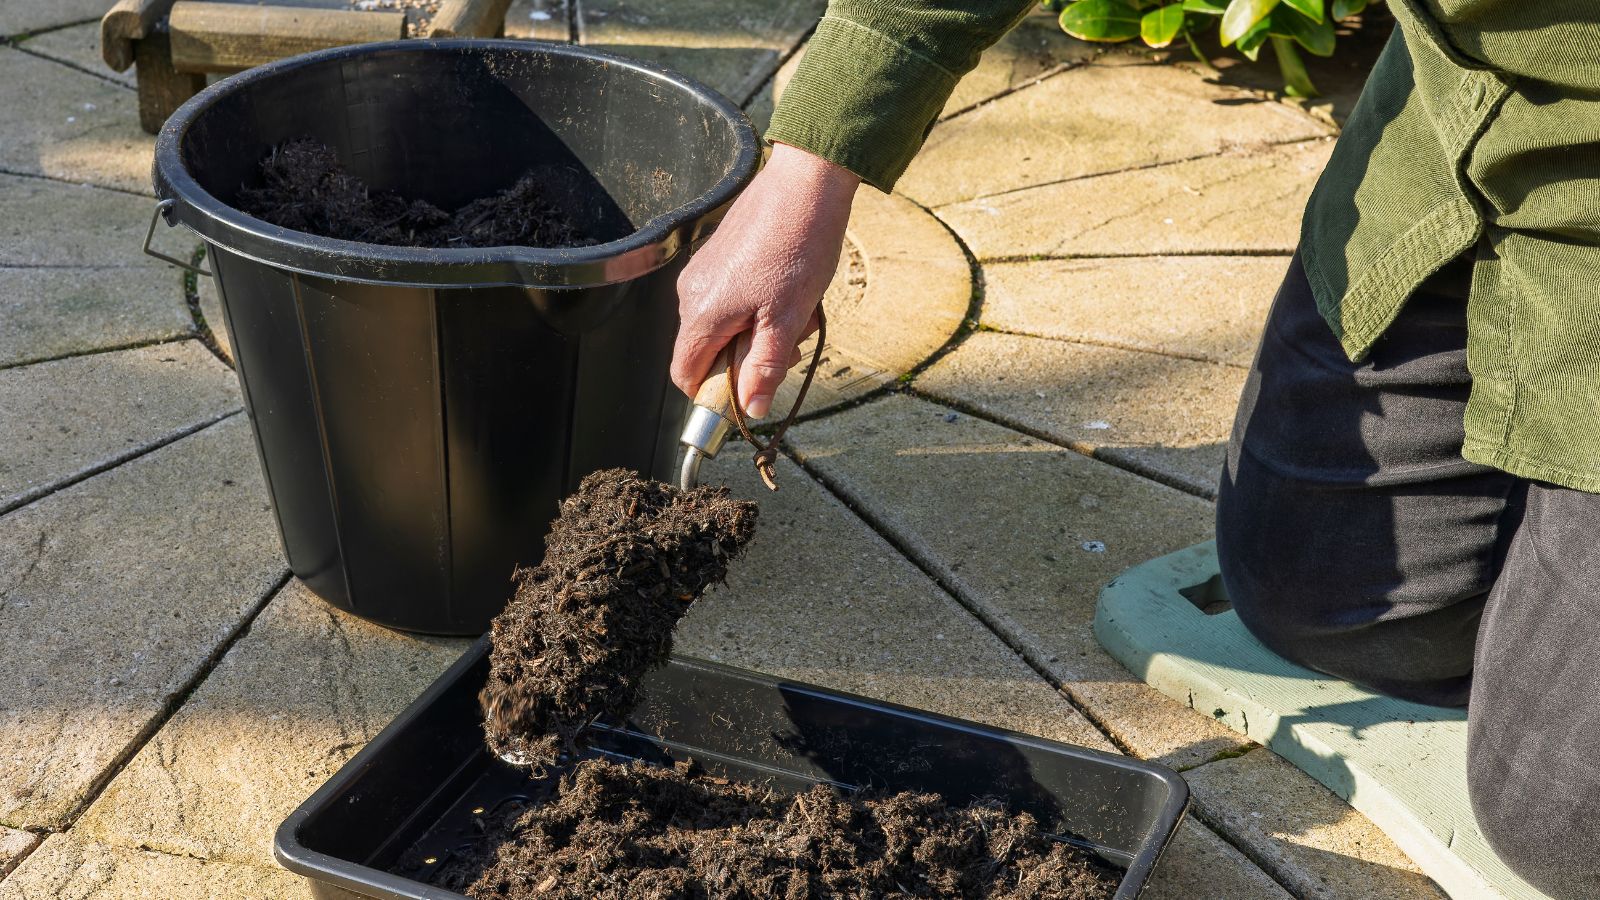
Flip your bucket to its upright (upside-down) place and set it off the facet of a desk so the tomato is hanging out of the bucket with no obstructions. Seize a buddy or liked one that can assist you stability whilst you fill in the remainder of the bucket with a good-quality tomato soil.
Any high-quality potting soil is ideal for this tomato-growing trick. You need one thing that has loads of vitamins, as a result of as you water, the soil will likely be barely depleted via the season. You don’t should fill the whole bucket with soil, however do fill it so your tomato roots are lined with at the very least an inch or two of soil. In the event you do fill it up all the way in which, you possibly can execute an additional step (extra on that later).
Step 8: Grasp It Up
Fold your strap in half and loop it across the bucket deal with. Then slide the ends via the small loop, making a failsafe knot that hangs properly. Discover a spot that can maintain 30 to 50 kilos of weight (identical to your strap), and a solution to affix your bucket to the hanging space.
Kevin used a carabiner, however you need to use an eyehook, a pressure rod, and even S hooks. Take the free ends of your strap and make an overhand knot. Then clip the carabiner, a hook, or just slide the knot over your hook of alternative. Grasp up your bucket, and water it in!
One of many coolest issues about rising tomatoes upside-down in a bucket that has an open prime is that there’s room for rising a shallow-rooted plant in that higher part! Kevin used that further area to develop a couple of heads of lettuce, which retain moisture as a dwelling mulch.
You’ll be able to pop some basil or marigolds on prime should you’d like. Or strive some borage or nasturtium. Not each tomato companion works right here, although. Carrots are too deep-rooted, as an illustration.
In the event you determine to go this route—which we actually assume you’d be lacking out should you didn’t—wait to cling your bucket till after you plant your topside crop. Then cling it and water it in.
Comply with Up

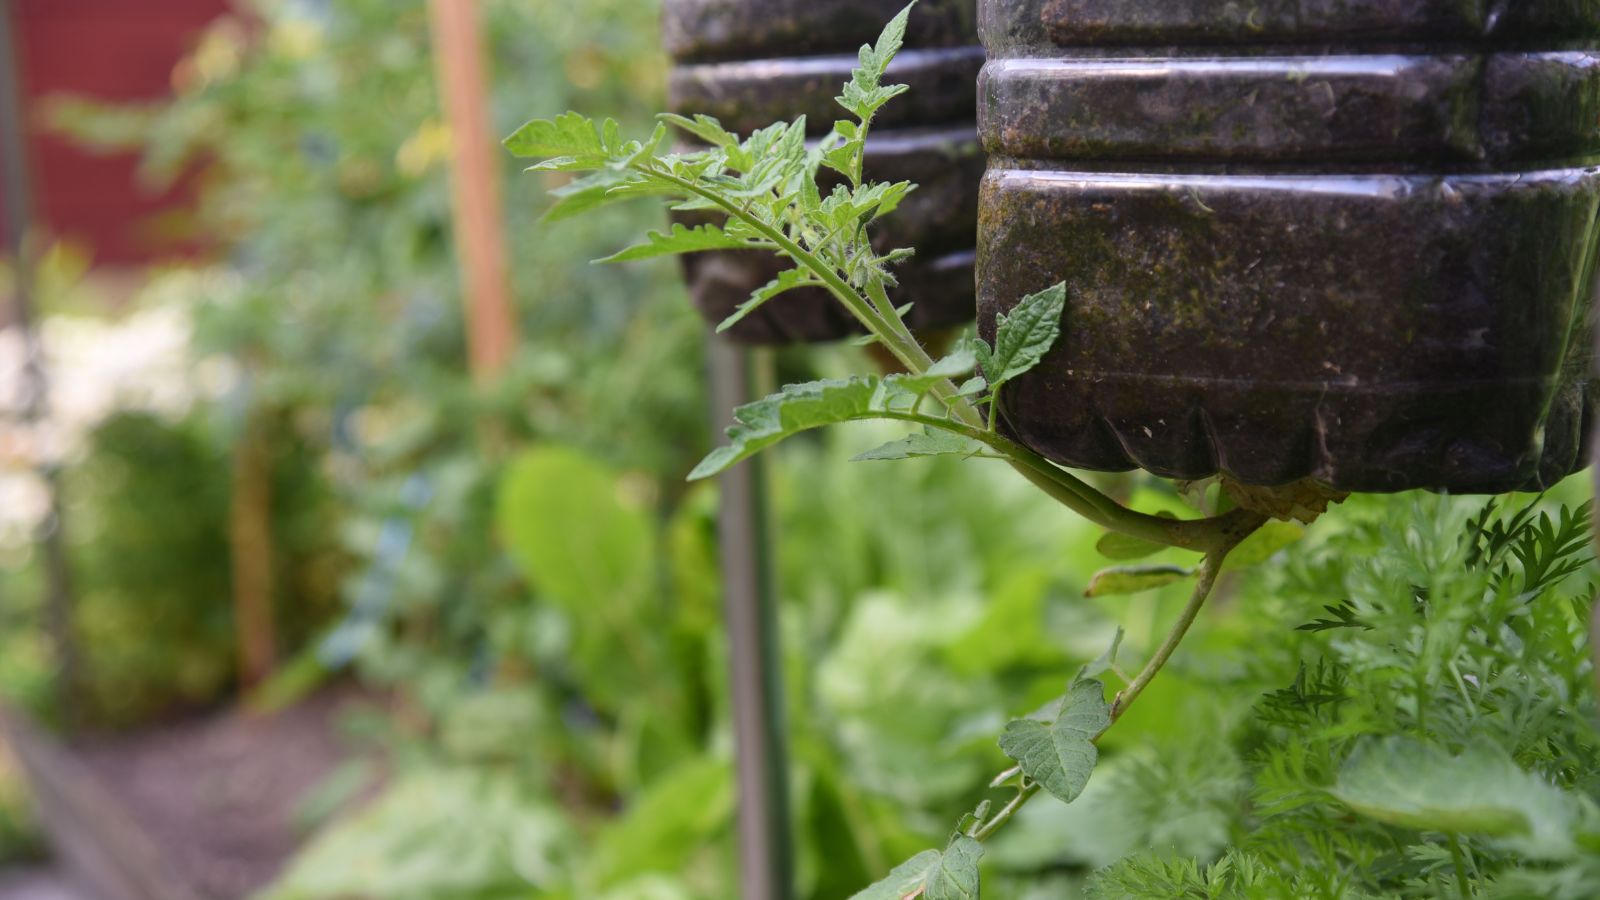
Identical to every other, your upside-down tomato wants consideration all through the season. Search for the central stem, and prune away any suckers that may take away from fruit set. Use a clear, sharp pair of pruners or snips for this. It’s possible you’ll discover your tomato tends to need to develop upward, however because it fruits, the stems will pull downward once more.
All the time verify for pests and ailments, however notice that fungal ailments are a lot much less widespread whenever you develop your tomatoes upside-down. Fertilize your tomato with a liquid tomato fertilizer each week or two. Dilute the formulation to ½ or ¼ power to maintain it mild.